
Carb tuning
![]()
![]()
 See
too
Carb diaphragm repair at
See
too
Carb diaphragm repair at
![]()
ESSENTIAL: Morgan vacuum gauge. Mine is 24 years old and still perfectly working. Money well invested
Preparation work
Before
modifying anything we must prepare the bike, because any
modification could result in any mechanical problem emerged, not
properly from the tuning, and we could be crazy before to find
it.
My advice is to perform a previous valve adjustment. When the carbs dismounted, check the carb slide diaphragms for holes and fix them as I state at the Fix & Tips section
After remounting, check the carb synchronization with a vacuum gauge and perform the air mixture screws adjustment, as stated at the link above.
TIP: pilot screws setting is 2 turns out from fully in, recommended from FJ 1100 to FJ 1200 at the workshop manual. Try 2 1/2 turn out in outer cylinders and 2 1/2 + 1/8 at the inner cylinders in whatever would be yours, like a starting point to perform the mixture screws procedure set up. You will get a sweet idle.
TIP 2: when you get synchronized you carburettors, apply a little spot of screws glue between in your sync screws, after you have get the correct balance. DON'T USE CIANOCRILATE BASED GLUE (Loctite or similar), only special screws glue. It is because the sync screws are made from soft steel and you could damage them
TIP 3: the float bowl vent tubes can upset carb function if improperly routed. By shortening or removing these, you will prevent this from occurring (nº 6 at the microfiche). It must be 4 long tubes, from the each carb to the down side of the motorbike
Tests to perform in order to obtain a good carburetion set up
To modify needles and/or jets with the fitment of a carburetion kit or to find the correct set up for your new airbox or exhaust mod I've development this procedure, slightly different form that provided by Dynojet kits.
1.- Synchronize the carbs with the vacuum gauge
2.- Adjust the mixture screws like I explain at the above link starting from the OE settings plus 1/2 turn out or from those recommended for your kit plus 1/4 turn out the inner carbs.
At this point the bike must keep a good idle and be quick responsive to the throttle. There must be no problems too riding at low speed, at around 2.500 - 3.000 rpm.
To perform the following tests I look for a quite and clear straight road, lightly uphill if it is possible to further expose any problem.
TEST 1
After a 15 min calm riding in order to warm the oil, apply full throttle in 3er and in 4th gear to 10.000 rpm. (you're in an airport or you're crazy if you do in 5th)
If the bike stalls or stumble or pauses or can't reach the rpm. limit from 7.000 rpm. and above, the problem is the main jet. To have an easy approach to your main jet change I test the bike again without the air filter in order to lean the mixture. If the problem was a lean mixture, it would be worst. If the problem attenuate, the mixture is rich. So change according the problem and test again.
TEST 2
Only you must perform this test when test 1 is satisfactory and the main jet that gives more power and acceleration is installed.
Open 1/4 to 1/2 throttle from 2.000 rpm. until 7.000 rpm, in 3rd and 4th gears.
If there is any problem this is due to the needle height. If the problem is worst when hot then the mixture is too rich. If the bike runs well when hot but there is problems between 4.000 - 7.000 rpm, the mixture is lean.
I recommend increase or decrease the needle height in 1/2 steps, simply placing a shim under the needle clip to raise the needle 1/2 position to enriching the mixture, or raising the clip 1 position and placing the shim under the clip, to lean the mixture.
If the problem decreases, go to the 1/2 next position until the problem appears again, then go back to the previous best setting.
K & N air filter:
Fit one of them and you will not change your air filter never again. Only wash it after a 30.000 km period with a degreasing product (I use Fairy or KH) , re-oil and fit again (only with a little thin of oil, don't over oil the filter or it could be useless) . And you will gain in accelerator response at low and middle rpm, just where you need it. ESSENTIAL
Individual cone / individual filters: KN or Unipod
I make a lot of experiments with KN individual filters in my FJ
1100 and in my first FJ 1200. Even you get power gains when
correctly set up, I think that there are some reasons to
NOT RECOMMEND
these

1.-the clamps on don’t stay fixed and they fall from their position. The Unipods look better at this respect
2.-you need a crankcase breather hose filter, and even with it, you will get your motor with oil splashed around. Look at the picture: it comes from the Yamaha workshop manual and it represents the oil vent circuit. Well, all that oil will splash around your bike when the crankcase filter saturate (very soon)
3,-without the airbox the carbs and the individuals are holding of the intake manifolds only. It is possible than all that weight could affect the conducts, breaking them
4.-the bike is affected for humidity and temperature changes very easily. And it goes like a pig when raining
5.- the oil vapours secondary system is in fact a closed system designed to drive the crankcase vapours to the cylinder heads. This "fog", direct product of the crank splashes when the engine is working, is beneficial for lubricating the upper cylinder that it is not washed by this "fog", since it is prevented by the scraper ring.
Water vapours mixed with the intake gases in small proportion increase gasoline antiknock proprieties, making them beneficial too and, finally, gasoline vapours that are drawn from the crankcase improve the quality of fuel mixture and so are used to the benefit of engine performance.
In fact in my CBX 750, Honda had to install an oil pressure system like this since 1985, and retrofit the previous models with the upgrade, due to the first CBX series without this system showed excessive wear on the valve guides, first beneficiaries of this system for the extra lubrication between admission valve and guide.
Fitting a cheap stage 1 with OE elements
 -
KN YA-1184 replacing the OE element.
-
KN YA-1184 replacing the OE element.
- Race exhaust. The FJ power is hidden at the exhaust
- Open air filter, with a grill to avoid big bugs and stones. It is recomended only if your emulsion tubes are more than 50.000 kms old,not if they are new
Settings
- 0,20 mm shim fitted under the needle
clip to raise 1/2 position (with the airbox grilled). If not, std position
- 112,5 main jets instead of OE 110 mm ones. (3CV/3XW models) 115 on 1TX models
- Air mixture screws between 3- 4 turns out to avoid explosions when retention on throttle closed, or 45 mm pilot jets with 1 1/2 turns out, like I say below
At the photo there are an European needle vs. a USA one. The only difference is the European regulation possibility, instead of the USA only position, but the USA position is exactly at the same point than the middle European needle OE setting (except Swiss model)
If we fit the KN and fit an open cans only it is not necessary to modify anything. With your OE needle position and main jets your FJ is set up very rich enough to compensate. Only set correctly the air mixture screws
Dynojet Kit
RECOMMENDED. The main gains is less measurable in power output than in throttle response: the bike accelerates faster & sweeter, with a wonderful response to throttle inputs and a addictive hungry for revolutions.
Even with the open airbox I don't recommend to fit the Stage 3 main jets: the carburetion is too rich
Be notice that Dynojet have 2 different kits, depending on if it is an European or American model. Mine are European power-free models (different from Germany, France or Swiss models)
And the conclusion is..
After 5 FJ and lots of test with them, I believe that I've arrive to the perfect power / reliability / push / throttle response / civility balance. These are my settings
3CV 1990
- 4º Factory ignition advancer
- STD Airbox with KN OE type filter inside
- Open cans and exhaust pan. I think it is a better compromise that a 4/1 exhaust, with a comparable even bigger total gas outer and with less sound
- Dynojet stage 1 as stated on the instructions, on base settings. DJ 104 mains. OE pilot air jets and springs, not the Dynojet ones. Slides drilled
- STD 42,5 mm pilot jets with mixture screws around 3 1/2 turns out. With 45 mm. pilot jets, not included at the kit, 1 1/2 turns out
- Float bowls
settled to 22 mm., measured as stated at the workshop manual
1TX 1.986
- 5º Factory ignition advancer
- STD Airbox with KN OE type filter inside
- Open cans and STD exhaust pan
- STD settings with needles raised 1/2 position with a shim
- STD 42,5 mm pilot jets with mixture screws around 3 turns out
- Float bowls settled to 22 mm., measured as stated at the workshop manual
November 2.018: Dynojet USA kit installed in my 1TX european model
 With
the ignition advancer, KN filter and open cans I couldn't find
the correct balance between good carburetion and correct working
temperature with the std carb elements. With 112,5 mains the
carburetion was perfect, but the bike overheated in slow and
tight curvy roads.
With
the ignition advancer, KN filter and open cans I couldn't find
the correct balance between good carburetion and correct working
temperature with the std carb elements. With 112,5 mains the
carburetion was perfect, but the bike overheated in slow and
tight curvy roads.
Moving up the needles slowed down acceleration. 115 mains simply didn't work at high altitude.
I could have tried with pilot air jets and harder carb springs, but I got a very good offer in an USA only FJ 1200 Dynojet kit, and I decided to try, knowing that my friend Mingo 1TX work faultless with American Dynojet needles.
Curiously, the recommended Dynojet main jets for the various stages are 1 measure bigger than the European models, and the instructions don't say anything about drilling the carb slides. Similar to the European kit, contain stronger springs and optional pilot air jets to get better driveability low down, even claim it could be slow acceleration.
My settings: DJ 108 mains, needles in base settings, around 2 turns out mixture screws and DJ 155 pilot air jets. In this bike, different from 3cv. I explain myself:
My nightmare with my 1TX have been always the engine working temperatute levels: around 10ºC hotter than in my 3CV. When riding hard, on narrow roads and uphill, the bike heats up ´cause the depression system supplies less fuel than the fuel pump. In fact, side by side, the consumption of this 1TX was ridiculous, an average of 1.5 liters less than my 3CVs.
After lots of tests, with the 112 main jet the temperature goes down a little, although it accelerated less at height. But the ultimate test came one day when I was going for a leisurely ride with 2 friends in their FJs: mine got hot at this pace, I had to ride at faster pace to get the temperature down.
I tried removing the ignition advancer. Wrong! . The bike goes very, very soft from 0 to 3000 rpm but it heats up more in general at all speeds. Going up the needles the bike acceleration suffered and the temperature remained the same.
As it was clear that the bike was running lean at mid rpms because it was the area where it got hottest, I mounted the pilot air jets from the kit, which add more fuel and enrich the mixture.
Bingo! The bike lowered its working temperature without adverse effects and, symptomatically, its consumption is in line with my two 3CVs. I lowered the main jet to 108 again and gained acceleration, it climbs like a beast, with no adverse effect on temperature.
The motorcycle, in addition to the engine feeling sweeter, have more power low down, better driveability, stays at idle in a few seconds when cold starting (always a problem with the fuel gravity models) and, above all, the bike run colder, the oil never exceeding 115ºC in the route in which previously reached up to 120ºC in various points. RECOMMENDED
Emulsion tubes and 45 mm pilot jets tested
After more than 150.000 kms the
can ends were black and the engine had lost part of its
wonderful grunt, apart of the misfiring on the exhaust, no more
little sounds when throttle closing, true explosions when
closing throttle at any rpm.
 The
emulsion tubes get oval due to the erosion that the mixture
produces when passing by the tube along the time, so more fuel
passes and the mixture goes too rich and out of the correct
parameters. See the left side pic.
The
emulsion tubes get oval due to the erosion that the mixture
produces when passing by the tube along the time, so more fuel
passes and the mixture goes too rich and out of the correct
parameters. See the left side pic.
Like a complete carb rebuild kit cost the same as only the emulsion tubes, I rebuilt my carbs to as new performance. I've changed pilot jets, float valves & seats, emulsion tubes, air pilot jets, repaired 2 little pins with PlastiDip in a slide diaphragm, air mixture screw assays, cleaned everything, carefully checked float bowls fuel level and adjusted to the standard limit value of 24,3 mm. like it is explained at the workshop manual.
To suppress or at least minimize backfires, and more if you have raised the rear like me, drop the level of your floats by a small amount at a time and it will go away. To lower the fuel level in your float bowls (by raising your floats) you need to physically bend the tang (down) just a little bit at a time, be gentle.
Measure often. Get all your floats within 1mm of each other. At
23 mm. measured as stated the workshop manual the bike runs
perfectly, but overheats in a hot day and in a slow road driving
hard (the worst possible situation) due to a lean mixture,
so I opted for enriched to 22 mm.
![]() You
can buy any Keihin & Mikuni parts here. They are a small family
business competing with big companies, so they specialize
in Customer Service. Paul, the owner, and his team are nice and
friendly people. and Excellent service & fast delivery
You
can buy any Keihin & Mikuni parts here. They are a small family
business competing with big companies, so they specialize
in Customer Service. Paul, the owner, and his team are nice and
friendly people. and Excellent service & fast delivery
The only problem was to dismantled the screw that holds the float valve in place. A pair of hammer blows with the screwdriver in place to reduce the aluminium resistance and everything went out sweetly. To disassembly the pin that holds the float bowls in place I bought an automatic punch.
The bike runs sweeter, with all
the grunt lost before the carb rebuilt and without POPS at the
exhausts. And it not takes an eternity to get
a properly working temperature, even with the cold plugs, around
90º when hard riding. ESSENTIAL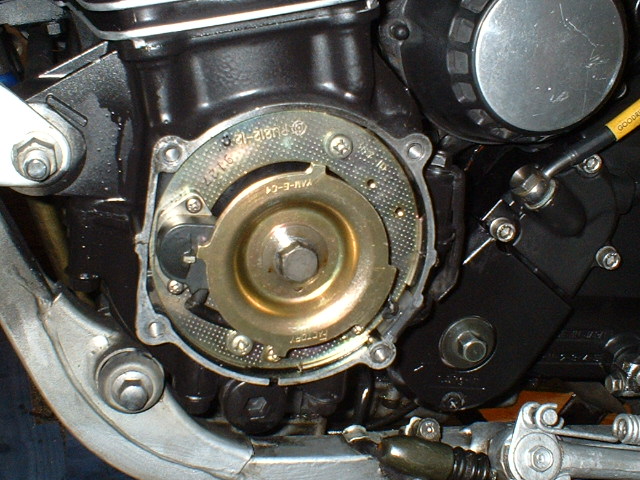
Factory 5º ignition advancer
I bought a Factory ignition advancer at eBay. Like I tested in my previous FJ, the difference in performance is not too much, no way like the feeling of power that you get when you fit a KN or a couple of open cans, but the motor feels more sweet at low rpm.
The OE ignition advances abruptly between 1000 to 3500 rpm. If you fit the slide springs included in the Dynojet kit, the low speed driveability is less. The advancer restore the driveability.
Cheap ignition advancer mod (credits to Chris Pocock, FJ/FJR forum)
I was simply
going to measure the diameter of the back plate. Once you have
that you can calculate the circumference. Once you have the
circumference, divide by 360 and multiply by 4. File that amount
in the opposite direction that the rotor spins at and I reckon
that should do it.

Off with the outer cover to reveal big bolt. Put it into fifth gear foot on brake or piece of wood through spokes of the back wheel and down onto swing arm and undo big bolt. After that take out all the small screws holding cable brackets and pic up, move pic up out of the way.
The next bit is a sod, the two big Philips screws are thread locked in so the right size screwdriver is essential, once undone the plate comes out.
 I
put bit of masking tape over the big screw holes and rubbed a
grubby finger over the hole to get a measuring point
I
put bit of masking tape over the big screw holes and rubbed a
grubby finger over the hole to get a measuring point
The next bit is up to you! I worked out that a
movement of 4 degrees = elongating the boltholes by 3mm. This
does seem to consider with the shadow from the washer. I marked
the tape at 3mm and filed away took about 5 min. each hole.
After offering the plate up a couple of time to make sure it
moved ok with both fixing bolts in I reassembled every thing and
hey presto job done.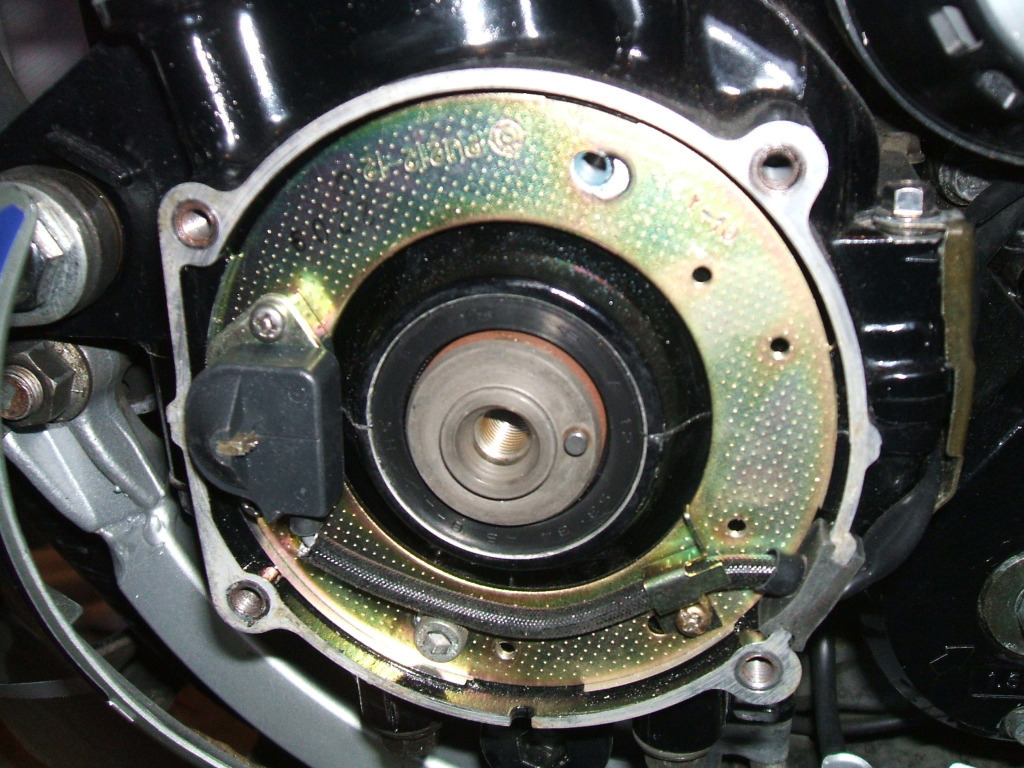
I left the small clip off at
the bottom as the screw fouls on the bolt hole of the engine
casing, you will see for your self when you get to that point
If it doesn’t make any difference, just loosen of the fixing
bolts and put back to the original
position.
HRC fuel cap mod
The following mod has an impressive results in order to its simplicity and quick fix. Basically, the mod helps the carbs to absorb fuel from the tank, minimizing the deposit vacuum force. Then , the fuel flows more freely and , in consequence, you get faster engine acceleration.
HRC, Honda Research Corporation, used this trick in its 60, 70 & 80 race bikes. Hence the name of the tick

The theory is simple: you must maximize the tank vacuum mechanism, but taking care that the fuel and the fuel emissions don't exit from the tank cap.

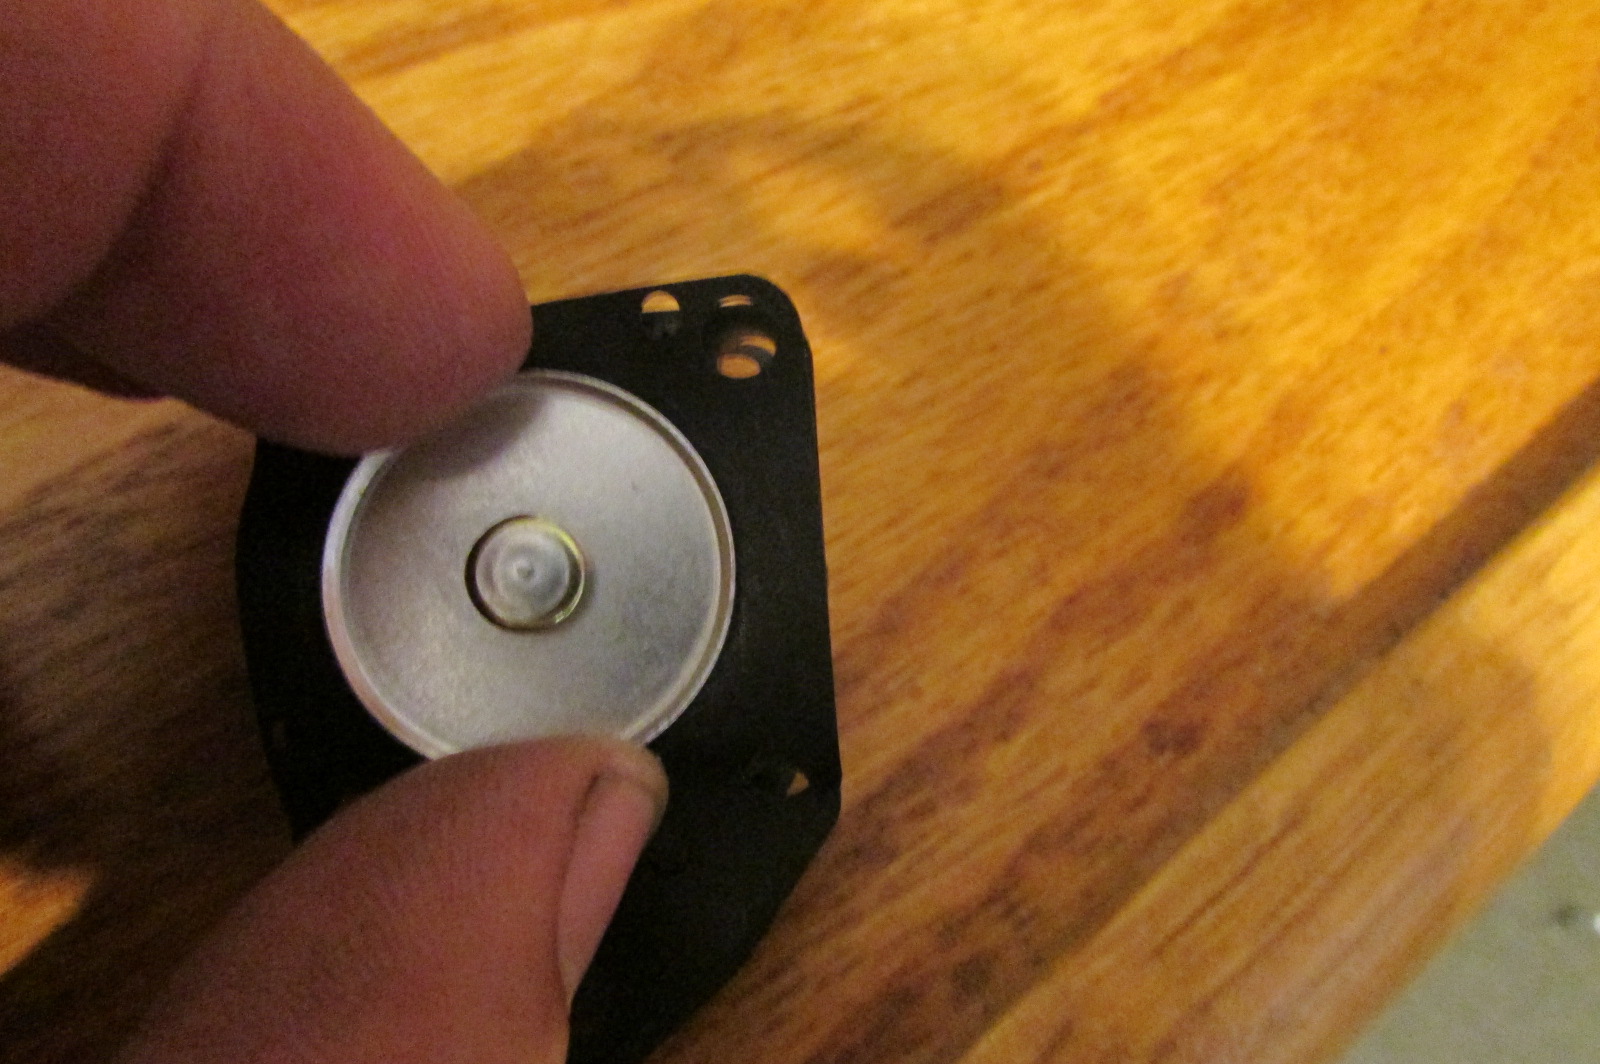
PHOTO 1: you can see the 3 screws to remove. Drill the little hole that you can see in the close mechanism cap only with a drill 1 size bigger. Be careful don't disturb the screw that you can see at the left. It holds the cap lock mechanism, a little spring with a microscopic ball that jump from the place at the moment that you touch that crew, and after are near impossible to refit.
PHOTO 2: covered by the cap there is a spring. Be careful don't lost when you extract the cap. And take care when fixing that the lock mechanism works. You can see too the cap hole to drill.
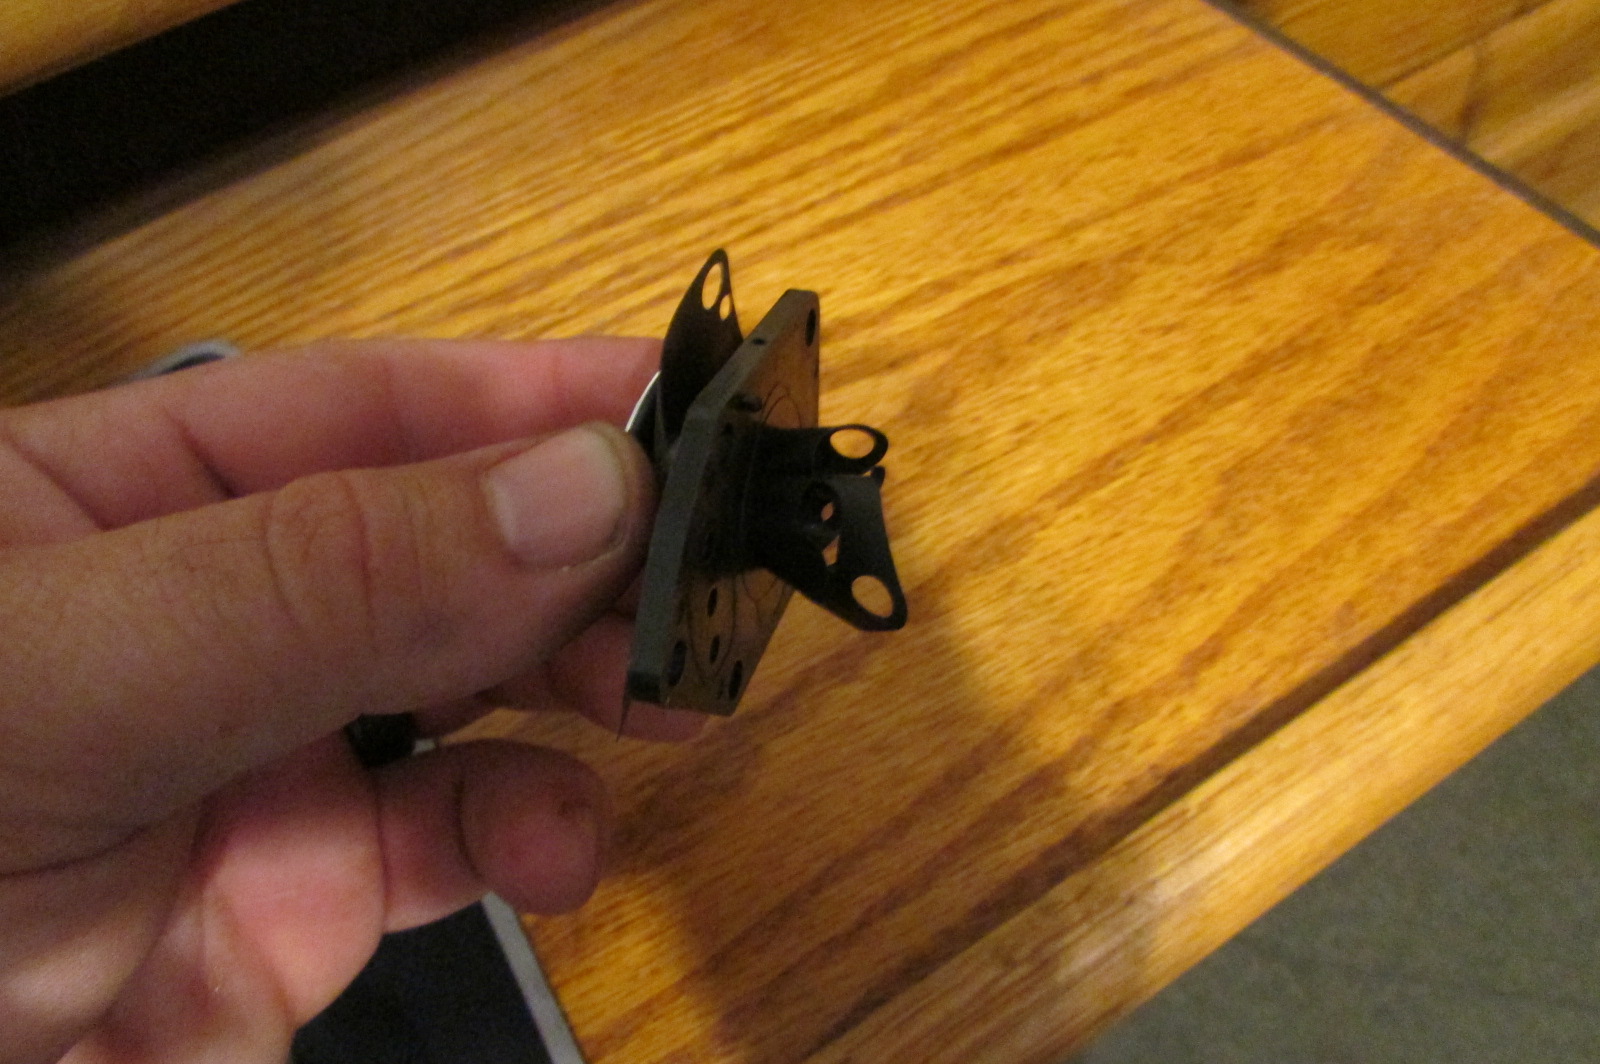
PHOTO 3: you can see the piece extracted. It is not needed to extract the big grommet around the cap, even although it is dismounted at this photo. Be careful don't break that black grommet gasket

 PHOTO
4: we must extract that orange membranes fitted in the
plastic piece. Be careful when refitting that plastic piece
because it has a fixed way: you can see the air conduct way
grabbed on it. I've drilled the two little holes that you can
see at the plastic piece mounting hole with the same little
drill than I used to the hole at the photo 1.
PHOTO
4: we must extract that orange membranes fitted in the
plastic piece. Be careful when refitting that plastic piece
because it has a fixed way: you can see the air conduct way
grabbed on it. I've drilled the two little holes that you can
see at the plastic piece mounting hole with the same little
drill than I used to the hole at the photo 1.
Fit everything back and VOILÁ!. AMAZING!! Outright, addictive and awesome power, Warp-Speed acceleration, less vibration and with less jumps at low revs. And combined with the other mods my bike feeling is like a turbo is fitted when the needle passes 6500 rpms. By end the engine feels like the FJ 1100 one!, only that with more low down torque and power. really, it is near a miracle!!!!!
FJ1100/FJ 1200 1TX fuel petcock repair kit
The problems with the fuel petcock in the gravity feed models, FJ 1100 and FJ 1200 86-87, are easily noticed because of the engine not maintaining the speed and "jumping" back and forward at a constant throttle, or because when the tank is dismounted, the key loose fuel.
There is no other solution that changing the petcock, replacing for an expensive new one... until now, that the boys at RPM are selling a cheap repair kit.
The gross grommet between the thin membranes must be extracted, kept and refitted between the kit membranes part. It is an easy task, simply by hand, and in 5 min. is done and installed. Easier than it sound


VERY IMPORTANT NOTICE: the little pipe that connect with the fuel tube is simply pressure installed in the OE petcock. It could failed and snap off, splashing fuel all around and on a hot engine, causing the bike gets on fire.
Simply wired as displayed at the pics or with cold welding, the possible catastrophic failure is avoided


Updating 84-87 FJs to fuel pump system NOT TESTED
Credits to Pat Conlon
The vacuum system is prone to fuel starvation in extreme conditions, i.e., in a closed racetrack or hard riding climbing on slow roads, raising the oil temperature above optimum working parameters, 90 to 120`C, like I've checked in my FJ1200 86-87.
To retrofit a fuel pump on to your early ‘84-87
FJ, it is necessary:
1) the ‘84-85 1100 vacuum petcock must be set on (P) Prime (open
all the time). The closing of the petcock is no longer needed,
the fuel pump now controls the fuel flow
For ‘86-87 petcocks that don’t have this prime
feature, you have to convert to a manual petcock maybe with the
HRC petcock trick explained on the CBX 750 pages in this
website. You can use use a ‘84/85 petcock too. 88-93 fuel
petcocks don't fit.
2) The ‘84-87 gravity feed carbs use larger float needle seats,
the ‘88-95 fuel pump carbs use smaller float needle seats, so
you will need to change them:
If you use the large needle seats with a fuel pump, the higher
fuel pressure will push the float needle off the seat and not
allow it to fully close and flooding will occur.
3) Add a safety shut off for the fuel pump. On the ‘88-95 Fuel
pump FJ’s the fuel pump power circuit runs throught the ignition
box so when the ignition box stops sensing a tach signal (engine
stopped) the power to the fuel pump stops after a few seconds.
Without this system, the pump will continue pumping fuel even if
the engine is stop, so in an accident could cause a fire
You need to add this Safety feature to your early FJ: http://www.revolutionelectronics.com/Products/Fuel_Pump.html
4) 88-93 airbox, fuel filter and fuel pump go straight on. I think it would be better to fit latest models airbox in order to mimic these models air flow capacity in order to not to disturb the carb settings too much and to gain space to fit the fuel pump